
Induction Sealing Troubleshooting: Missing and Overheated Seals
Diagnose missing, weak and overheated induction seals by recording torque, material, rim condition, alignment and speed before changing power.
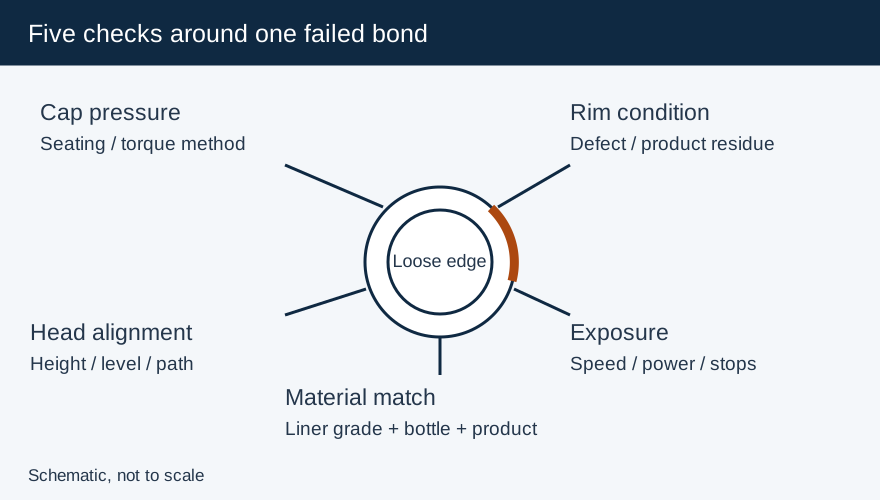
Start an induction-seal investigation by preserving the failed package and the machine settings. A loose edge can come from insufficient contact, unsuitable liner material or uneven exposure; raising power before distinguishing those causes can damage an already hot area. Compare the failure with a known-good package made under the approved process.
| Observation after the specified cooling interval | Checks to make first | Evidence to record |
|---|---|---|
| No bond around the mouth | Liner presence, sealer state, material match and cap seating | Cap/liner identity, alarms and actual settings |
| Partial or weak bond | Application condition, rim defects, centering, level and exposure | Location of the loose edge relative to bottle and conveyor |
| Backing discoloration, odor or deformation | Power, slow/stopped motion and incorrect geometry | Stop history, belt speed and head position |
| Unintended backing/foil separation | Liner construction, storage and process conditions | Both sides of the liner, lot and opening time |
| Sensor fault or unexpected rejection | Installed option and documented detection sequence | Exact alarm, package position and reject outcome |
These observations narrow the investigation; verify the cause through a controlled comparison before changing the production specification.
Contain affected product and compare the last good state
Identify the last accepted check and the production since it. Hold affected packages under the site’s quality procedure while determining the extent of the problem. Capture the power setting, speed, head, liner and cap lots, fill condition, torque method and alarm history before resetting anything.
Look for a change in the same time period: a material replenishment, capper adjustment, new bottle cavity, shifted guide, cleaning intervention or conveyor stop. Keep samples of both the accepted and failed condition. A photograph of the full sealing perimeter is more useful than an isolated close-up without orientation.
Check contact before heating
Enercon lists low application torque, cocked or cross-threaded caps and caps bottoming on the container shoulder among causes of weak seals. Inspect the package at the capper discharge and sealer entrance. Use the same torque measurement procedure and elapsed time for each comparison.
Inspect the land for a saddle, ridge, damage or product contamination. Compare with a conforming bottle and a clean sample prepared by the approved packaging procedure. Do not add a cleaning solvent to production packaging without assessing compatibility and residue controls. Correct a filling or bottle-quality problem at its source rather than hiding it with a new power setting.
Verify the head and moving exposure
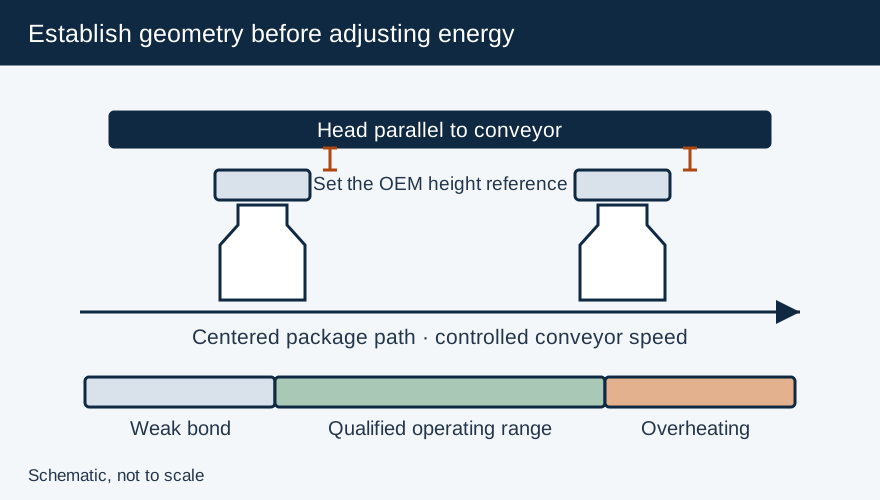
Check the head’s parallelism, its height reference and the cap path through the field. Enercon’s illustrated conventional setup uses a 1/8 inch clearance above the cap; its deep-tunnel setup aligns to the liner-height indicator. Follow the actual installed head’s procedure.
Measure running belt speed and inspect the stop/restart sequence. A display setpoint does not show whether a bottle stalled beneath the coil. Restore the approved mechanical setup before repeating the operating-window trial. Use the coil selection guide if a new closure geometry no longer fits the existing head.
Confirm material identity and opening behavior
Check the liner supplier’s exact grade against the container material and contents. Inspect orientation and retention inside the cap. A change in liner construction or thickness can change the required sealing process even when the part looks similar.
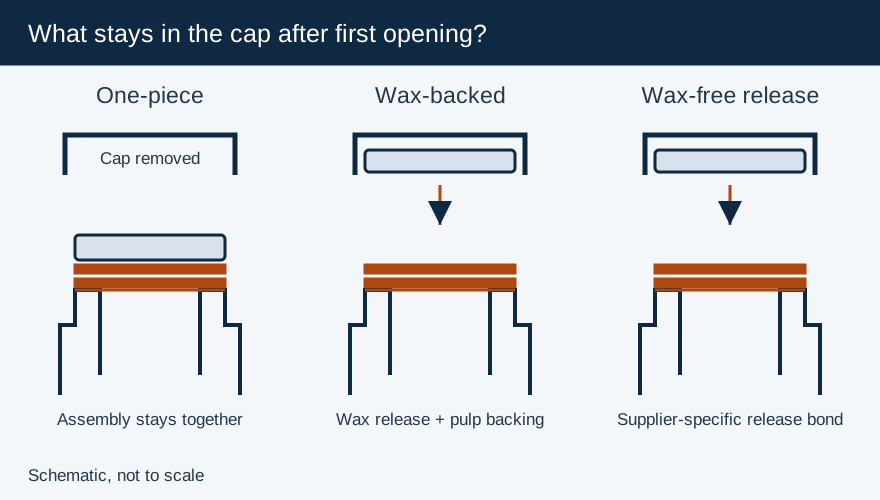
For a two-piece liner, evaluate backing release and bottle-rim bonding separately. For clean-peel or puncture-resistant grades, compare with the agreed removal behavior. A liner lifting cleanly is not automatically a material mismatch: clean removal may be its intended design. The relevant question is whether the package meets its qualified bond and leakage requirements.
Change one input and verify recovery
After restoring contact, geometry and material identity, adjust energy only within the supplier’s trial procedure. Use fresh samples and a consistent cooling interval. Record each change and test the resulting seal using the method appropriate to the product.
If scorching follows a line stop, investigate stop protection before restarting normal production. Enercon warns that stalled containers, especially with combustible contents, can overheat and create a fire risk. Electrical or internal inverter faults should be handled by qualified service personnel following the exact model’s maintenance and isolation procedure.
Confirm recovery across the affected operating conditions, then release held product only through the quality procedure. Update the capper/sealer interface record when a mechanical or control correction changes the approved setup.
Primary Sources & Referenced Standards
- Enercon: Getting Started with Induction Cap Sealing
- Troubleshooting Induction Seals: Container & Liner Material
- Inconsistent Application Torque Equals Inconsistent Seals - Induction Cap Sealing
- Pillar Technologies — Sealing Unit Verification (SUV) & Line Interlock Variables
- Safety Flammable Products - Enercon Industries Corporation
More about Induction Sealing Machines
Electromagnetic induction cap sealers, flat vs. tunnel sealing coils, kW power-to-line-speed matching, capping head integration, and troubleshooting.
Related Articles
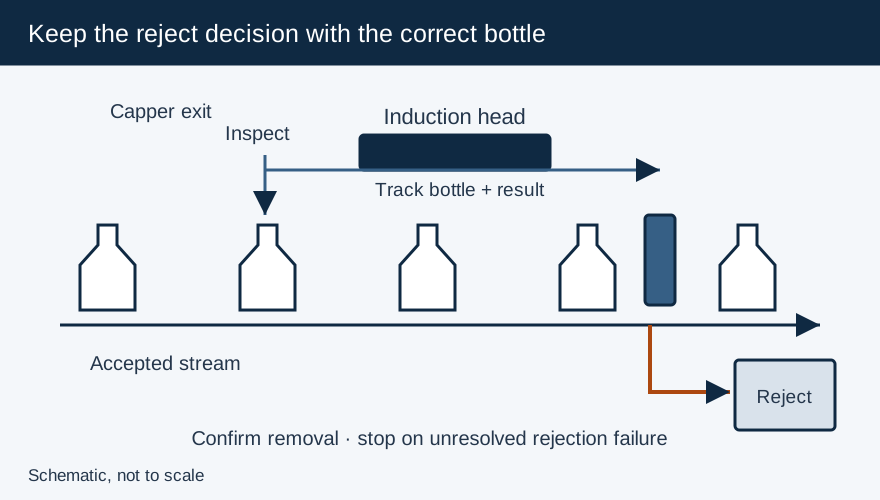
Capping and Induction Sealing: Line Interfaces and Rejection
Specify capper-to-sealer transfer, conveyor stop protection, inspection signals and confirmed rejection for an induction sealing line.
Capping Machines Explained: Match the Cap, Container and Closing Process
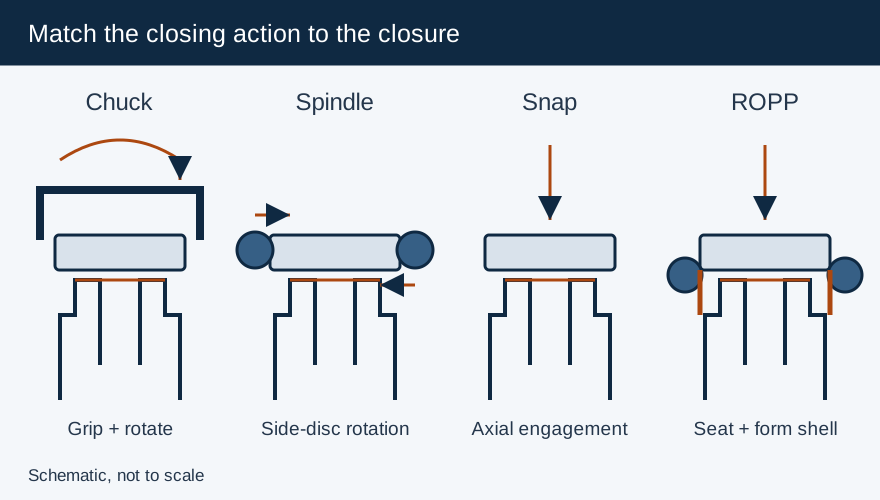
Compare chuck, spindle, snap and ROPP closing mechanisms, then specify container support, torque checks and the capper-to-sealer interface.
Integrating Filling, Capping and Labeling: Define Transfer, Timing and Reject Interfaces
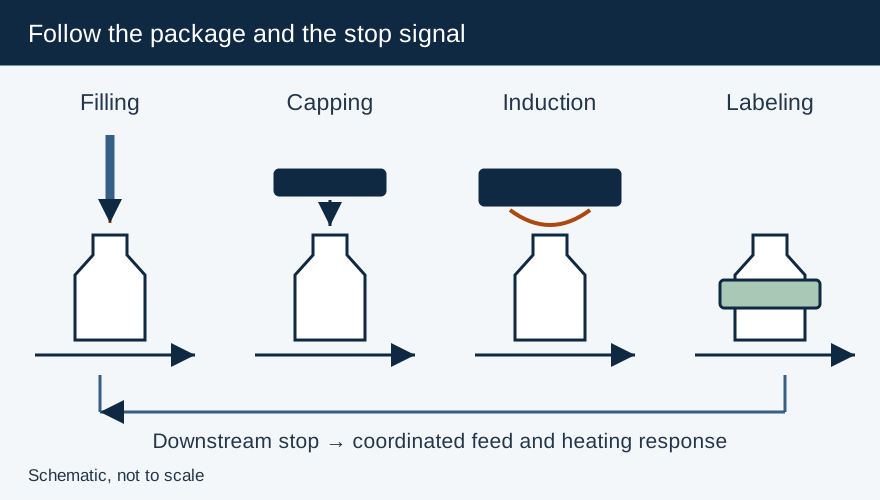
Define conveyor, rate and reject interfaces between filling, capping, induction sealing and labeling, including safe stop and restart behavior.