
Handheld Induction Sealer Power, Time and Cap Diameter Guide
Choose the correct handheld head for small through 100 mm-plus caps, then qualify timer, power and centering on the actual bottle and liner.
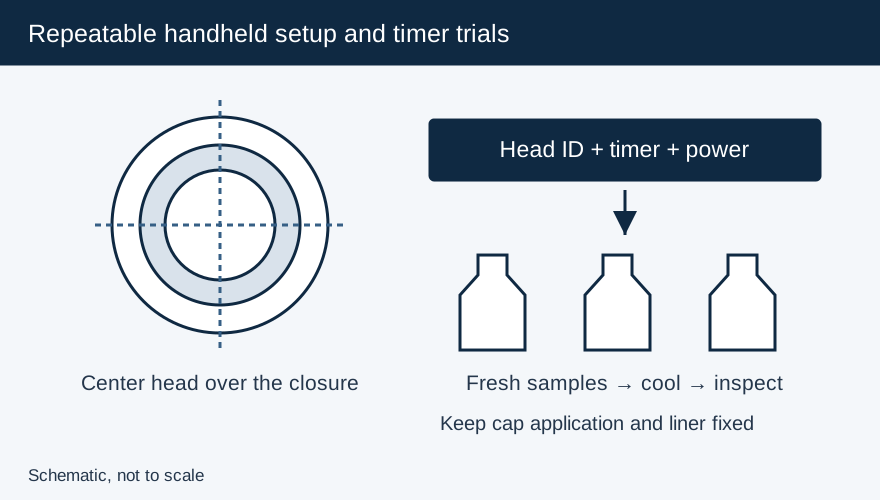
A handheld induction sealer needs a head that covers the cap and reaches the foil, followed by a timed trial on the actual package. Diameter alone cannot set the seconds or power: cap height, foil position, liner grade and contact pressure change the result. An off-center head or unsuitable liner can leave a loose edge while another part of the seal overheats.
| Published handheld example | Supplier’s stated diameter coverage | What the operator must establish |
|---|---|---|
| Enercon Super Seal Jr | Standard head up to 83 mm; optional head up to 120 mm | Correct supplied head, digital timer setting and package torque |
| Pillar C-Series handheld coils | Two coil sizes covering 12–120 mm | Coil selection; plug arrangement for flat or dispensing caps |
| Accutek AccuSealer IS-130 | 80–130 mm caps | Model/head suitability and digital timing on the intended package |
For a 20 mm closure or a cap over 100 mm, check the selected head’s coverage before making a trial. The machine name alone is insufficient when alternative heads are available.
Position the head using its own contact reference
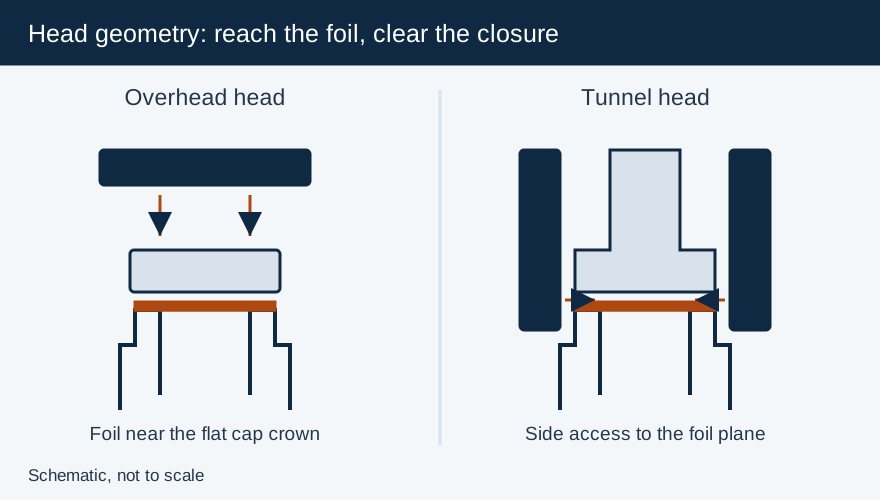
Enercon instructs the Super Seal Jr user to place the sealing head on the container’s cap and activate its timed cycle. Pillar describes placing its handheld coil firmly on a flat cap; for dispensing caps, its removable center plug creates clearance. Follow the positioning method for the supplied tool and keep it repeatable across operators.
A tall nozzle or thick overcap can increase the separation between coil and foil even when the head touches the cap. Send the supplier a section drawing showing the foil plane, outer cap shape and available clearance. Centering is a geometric requirement: the package should occupy the same position relative to the coil each time. Use an approved guide or fixture where manual placement varies.
Build a timer and power trial that isolates the variables
Prepare fresh containers with the intended contents or the supplier-approved test fill. Confirm the liner-to-container match, a clean sealing land and the approved cap application condition. Keep those inputs fixed while testing the handheld settings.
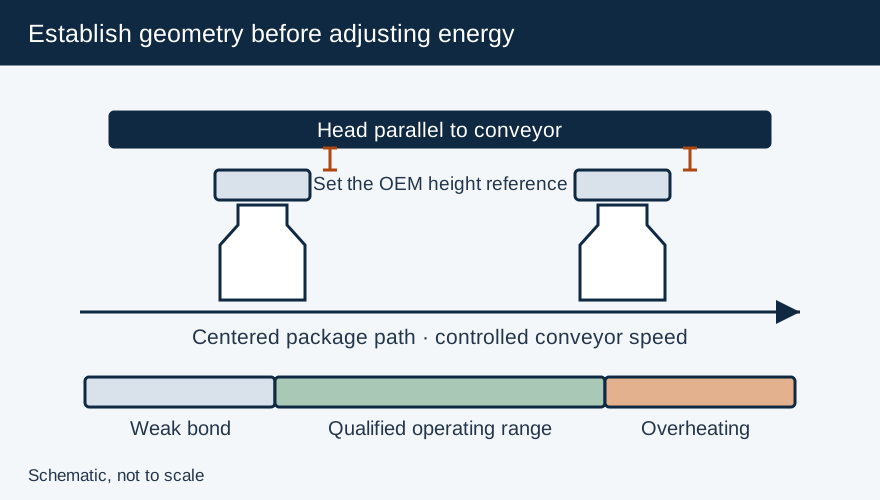
Start from the sealer supplier’s instructions for that package. Adjust the timer in the increments available on the controller; if power is separately adjustable, change one control at a time. Let each sample cool for the liner supplier’s specified interval, then inspect the full perimeter, backing release and opening behavior. Record the actual seconds and power setting for every sample, including unsuccessful ones.
The lower useful boundary is where the required seal performance begins. The upper boundary is reached before unacceptable wrinkling, discoloration, odor, foam distortion or package damage. Confirm the selected setting with repeated samples and the relevant leak or seal-quality test. A visual bond is one observation, not the whole package qualification.
Read the failure pattern before adding energy
An uneven seal directs attention to head placement, cap seating and rim condition. A consistently weak seal requires checking material compatibility and contact as well as energy. In a wax-backed liner, inspect separation from the backing alongside adhesion to the bottle. More heat can worsen a seating problem without closing the unbonded section.
Use fresh samples for changed settings. Repeatedly heating the same cap changes its thermal history and makes the next result difficult to compare. If a sample scorches, stop and investigate the setting and head/package match before continuing. Follow the manufacturer’s duty-cycle, hot-surface and electromagnetic-field precautions, including instructions for people with implanted medical devices and restrictions on metal near the head.
Keep bench qualification separate from conveyor transfer
A bench trial is useful for material development and small-batch processing. Its timer cannot simply be copied to a conveyor line: the inline head’s geometry, moving exposure and package handling are different. Repeat the operating-window study at production belt speed when scaling up.
Retain head identification, cap and liner grade, bottle material, fill condition, application method, power, timer, cooling interval and test result in the approved recipe. Include operator positioning and batch pacing in the work instruction. For combustible contents, have the equipment supplier and site safety team assess the sealing operation; Enercon warns that prolonged exposure during a stall can overheat product and create a fire risk.
Frequently Asked Questions
What timer should be used for a 38 mm cap?
Establish the timer using the selected head, liner, container and cap application condition. Follow the machine supplier’s trial procedure and verify cooled package performance.
Can the same handheld machine cover caps over 100 mm?
Some models offer suitable heads: Enercon lists an optional Super Seal Jr head up to 120 mm and Accutek lists the IS-130 for 80–130 mm. Confirm the head supplied for your package.
Primary Sources & Referenced Standards
- Super Seal™ Jr. - Handheld Induction Cap Sealing
- Accutek Packaging Equipment — AccuSealer IS-130 Handheld / Tabletop Sealer
- Pillar Technologies — Induction Sealing Coils (Universal, inFinity Tunnel, C-Series Handheld)
- Enercon: Getting Started with Induction Cap Sealing
- Safety Flammable Products - Enercon Industries Corporation
More about Induction Sealing Machines
Electromagnetic induction cap sealers, flat vs. tunnel sealing coils, kW power-to-line-speed matching, capping head integration, and troubleshooting.
Related Articles
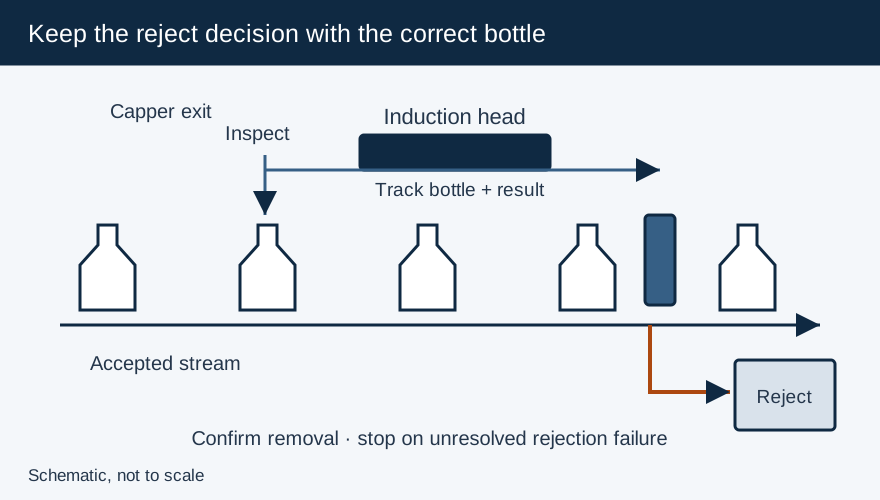
Capping and Induction Sealing: Line Interfaces and Rejection
Specify capper-to-sealer transfer, conveyor stop protection, inspection signals and confirmed rejection for an induction sealing line.
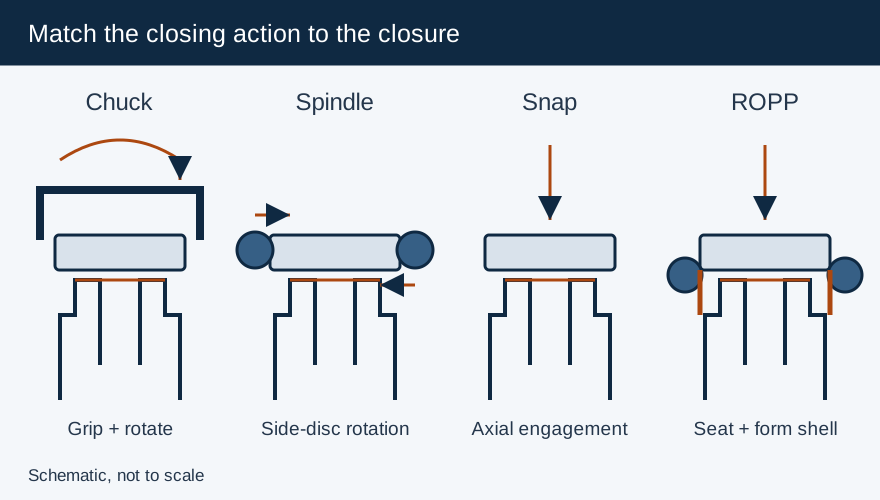
Capping Machines Explained: Match the Cap, Container and Closing Process
Compare chuck, spindle, snap and ROPP closing mechanisms, then specify container support, torque checks and the capper-to-sealer interface.
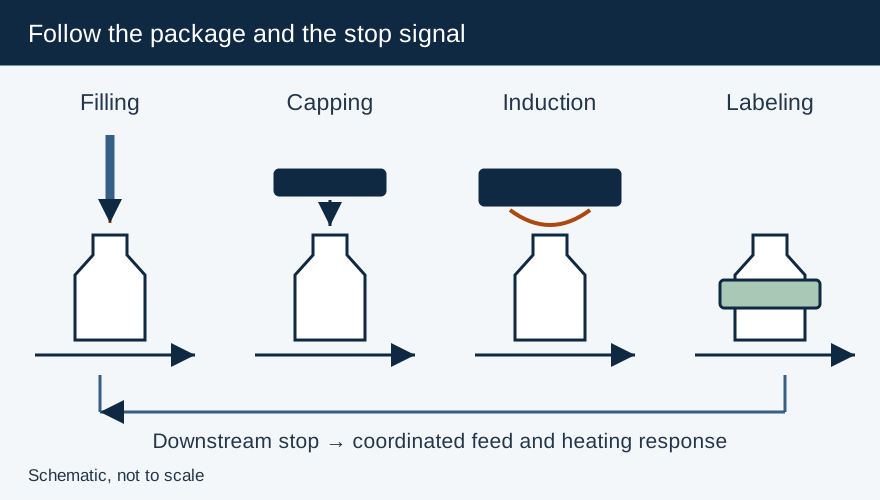
Integrating Filling, Capping and Labeling: Define Transfer, Timing and Reject Interfaces
Define conveyor, rate and reject interfaces between filling, capping, induction sealing and labeling, including safe stop and restart behavior.